Creating a WalletConnect Project and Obtaining a ProjectId
Step 1: Visit the WalletConnect Official Website
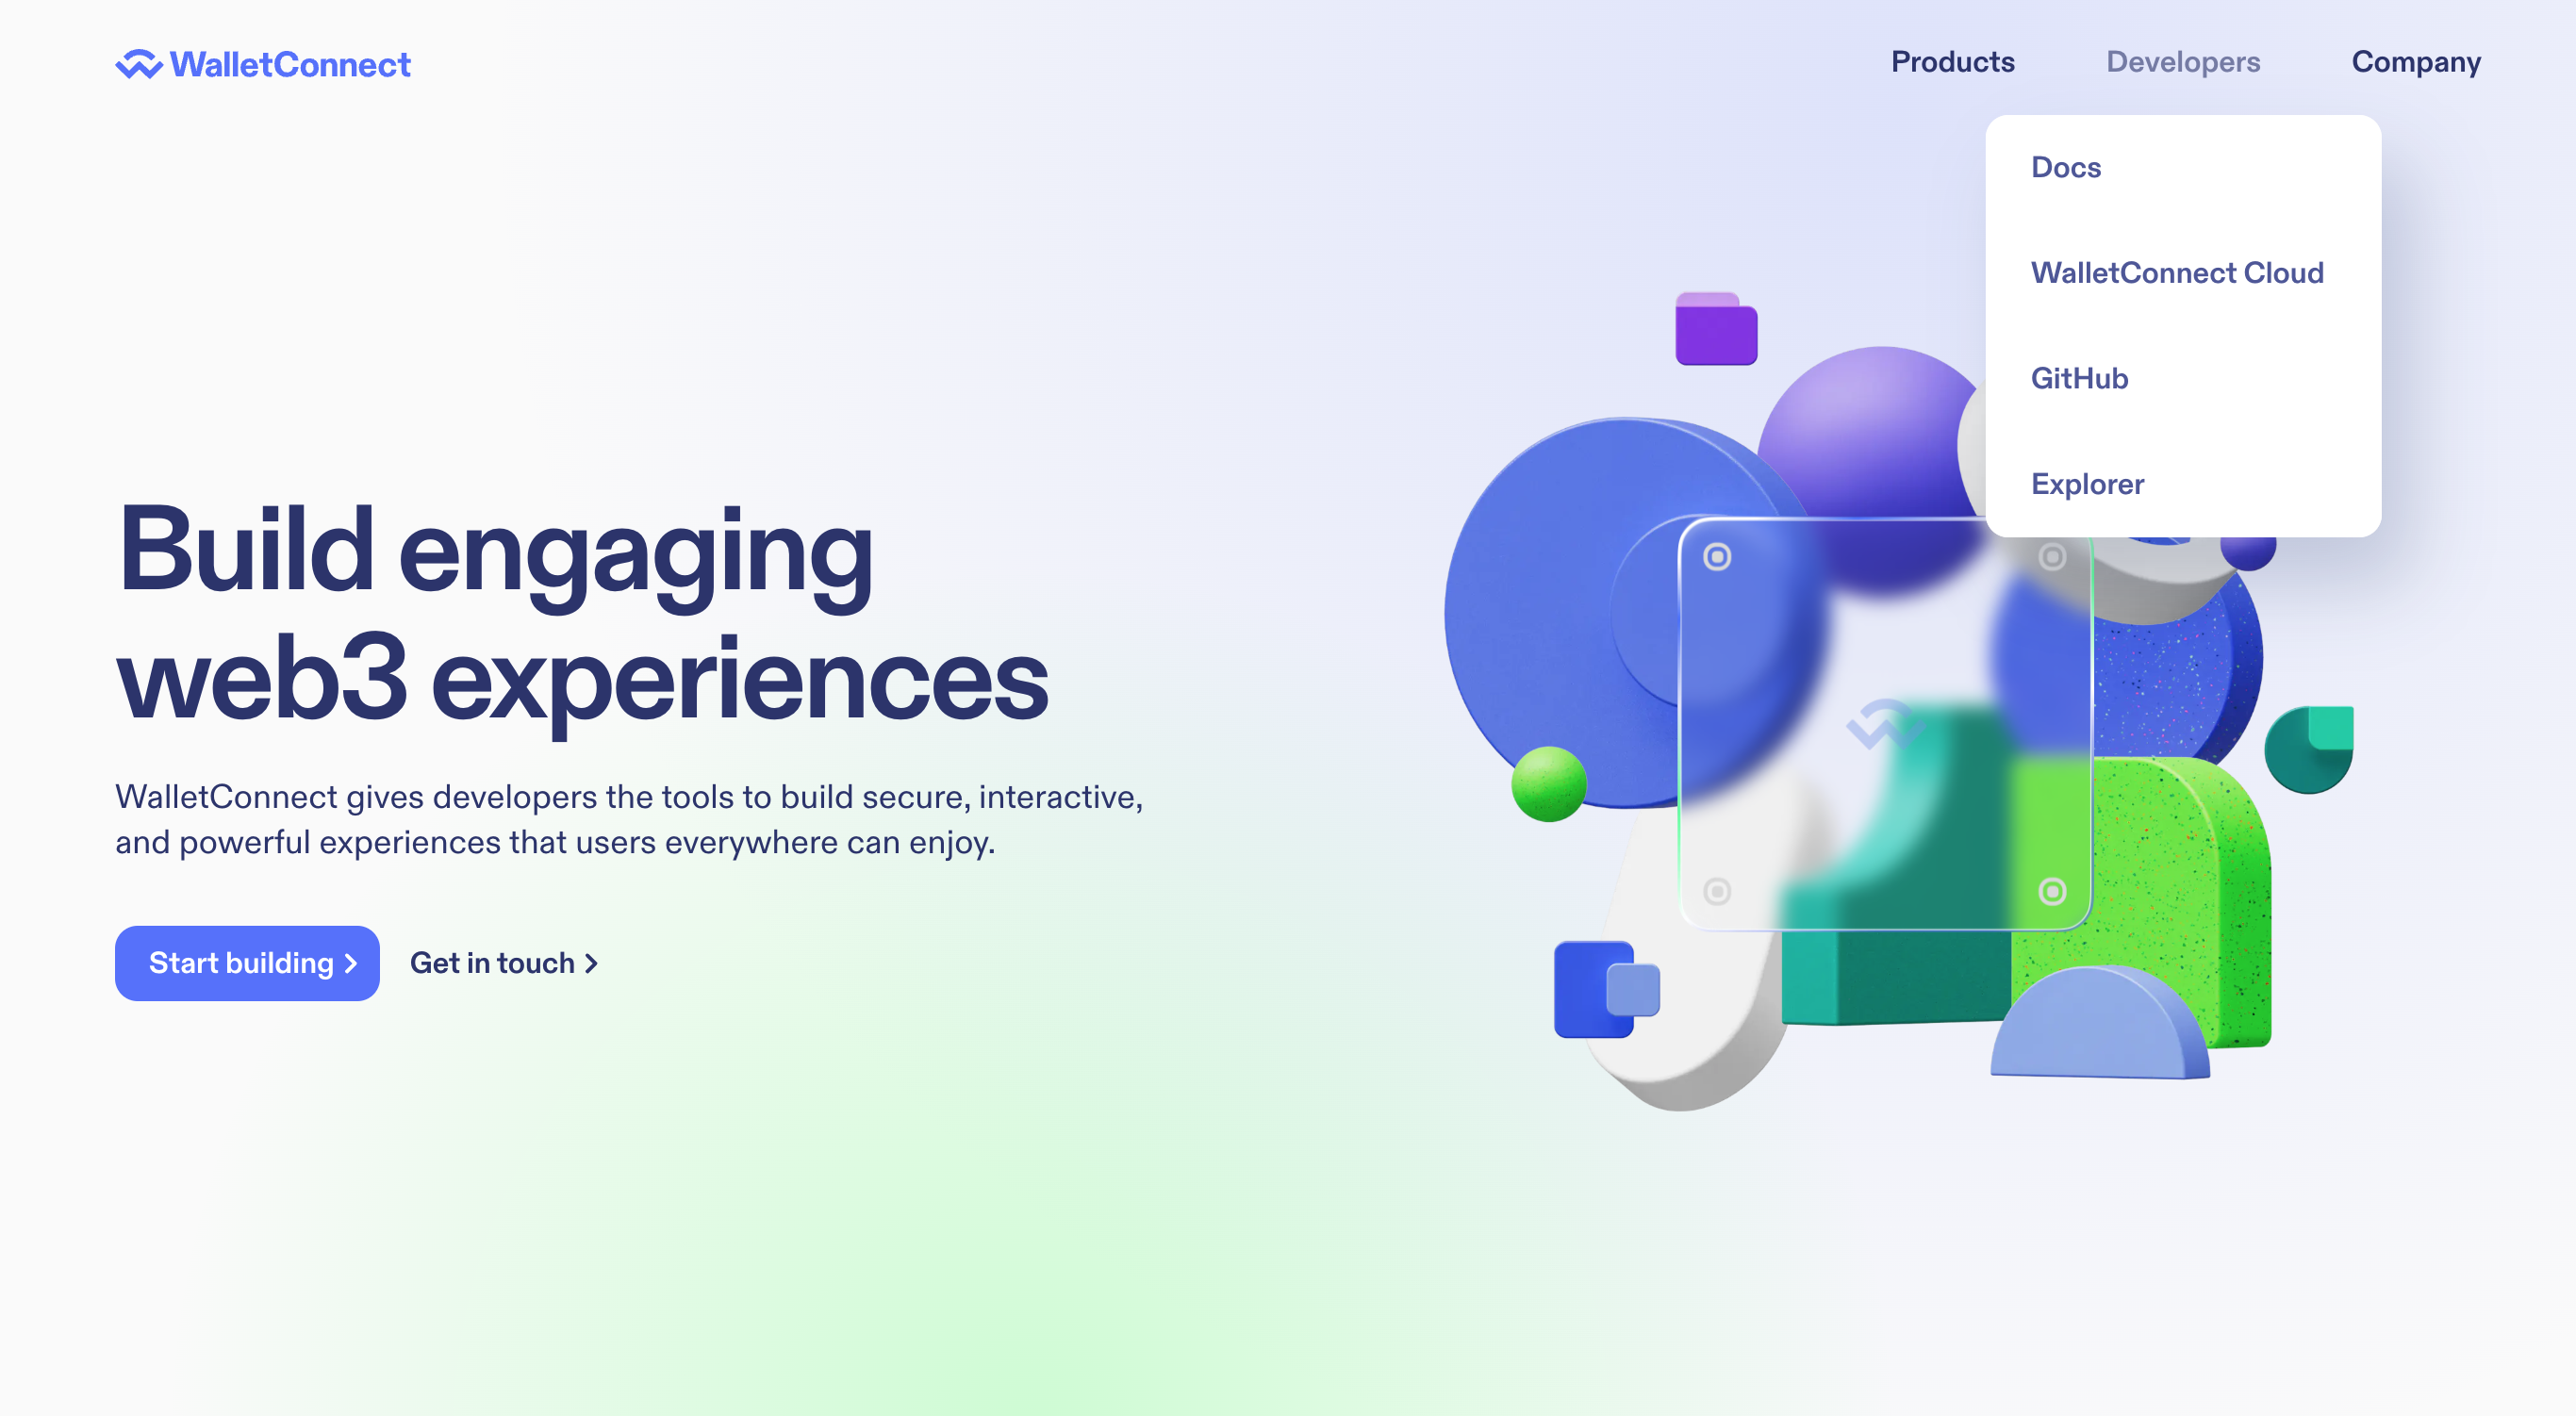
- Open your web browser and navigate to the WalletConnect official website: WalletConnect.
- Find the section dedicated to developers, often labeled "Developers", and click on "WalletConnect Cloud"
Step 2: Sign Up or Log In
- If you don’t already have an account, you will need to sign up. Click the "Sign Up" button and follow the provided instructions.
- If you have an account, click the "Log In" button and enter your credentials.

Step 3: Create a New Project
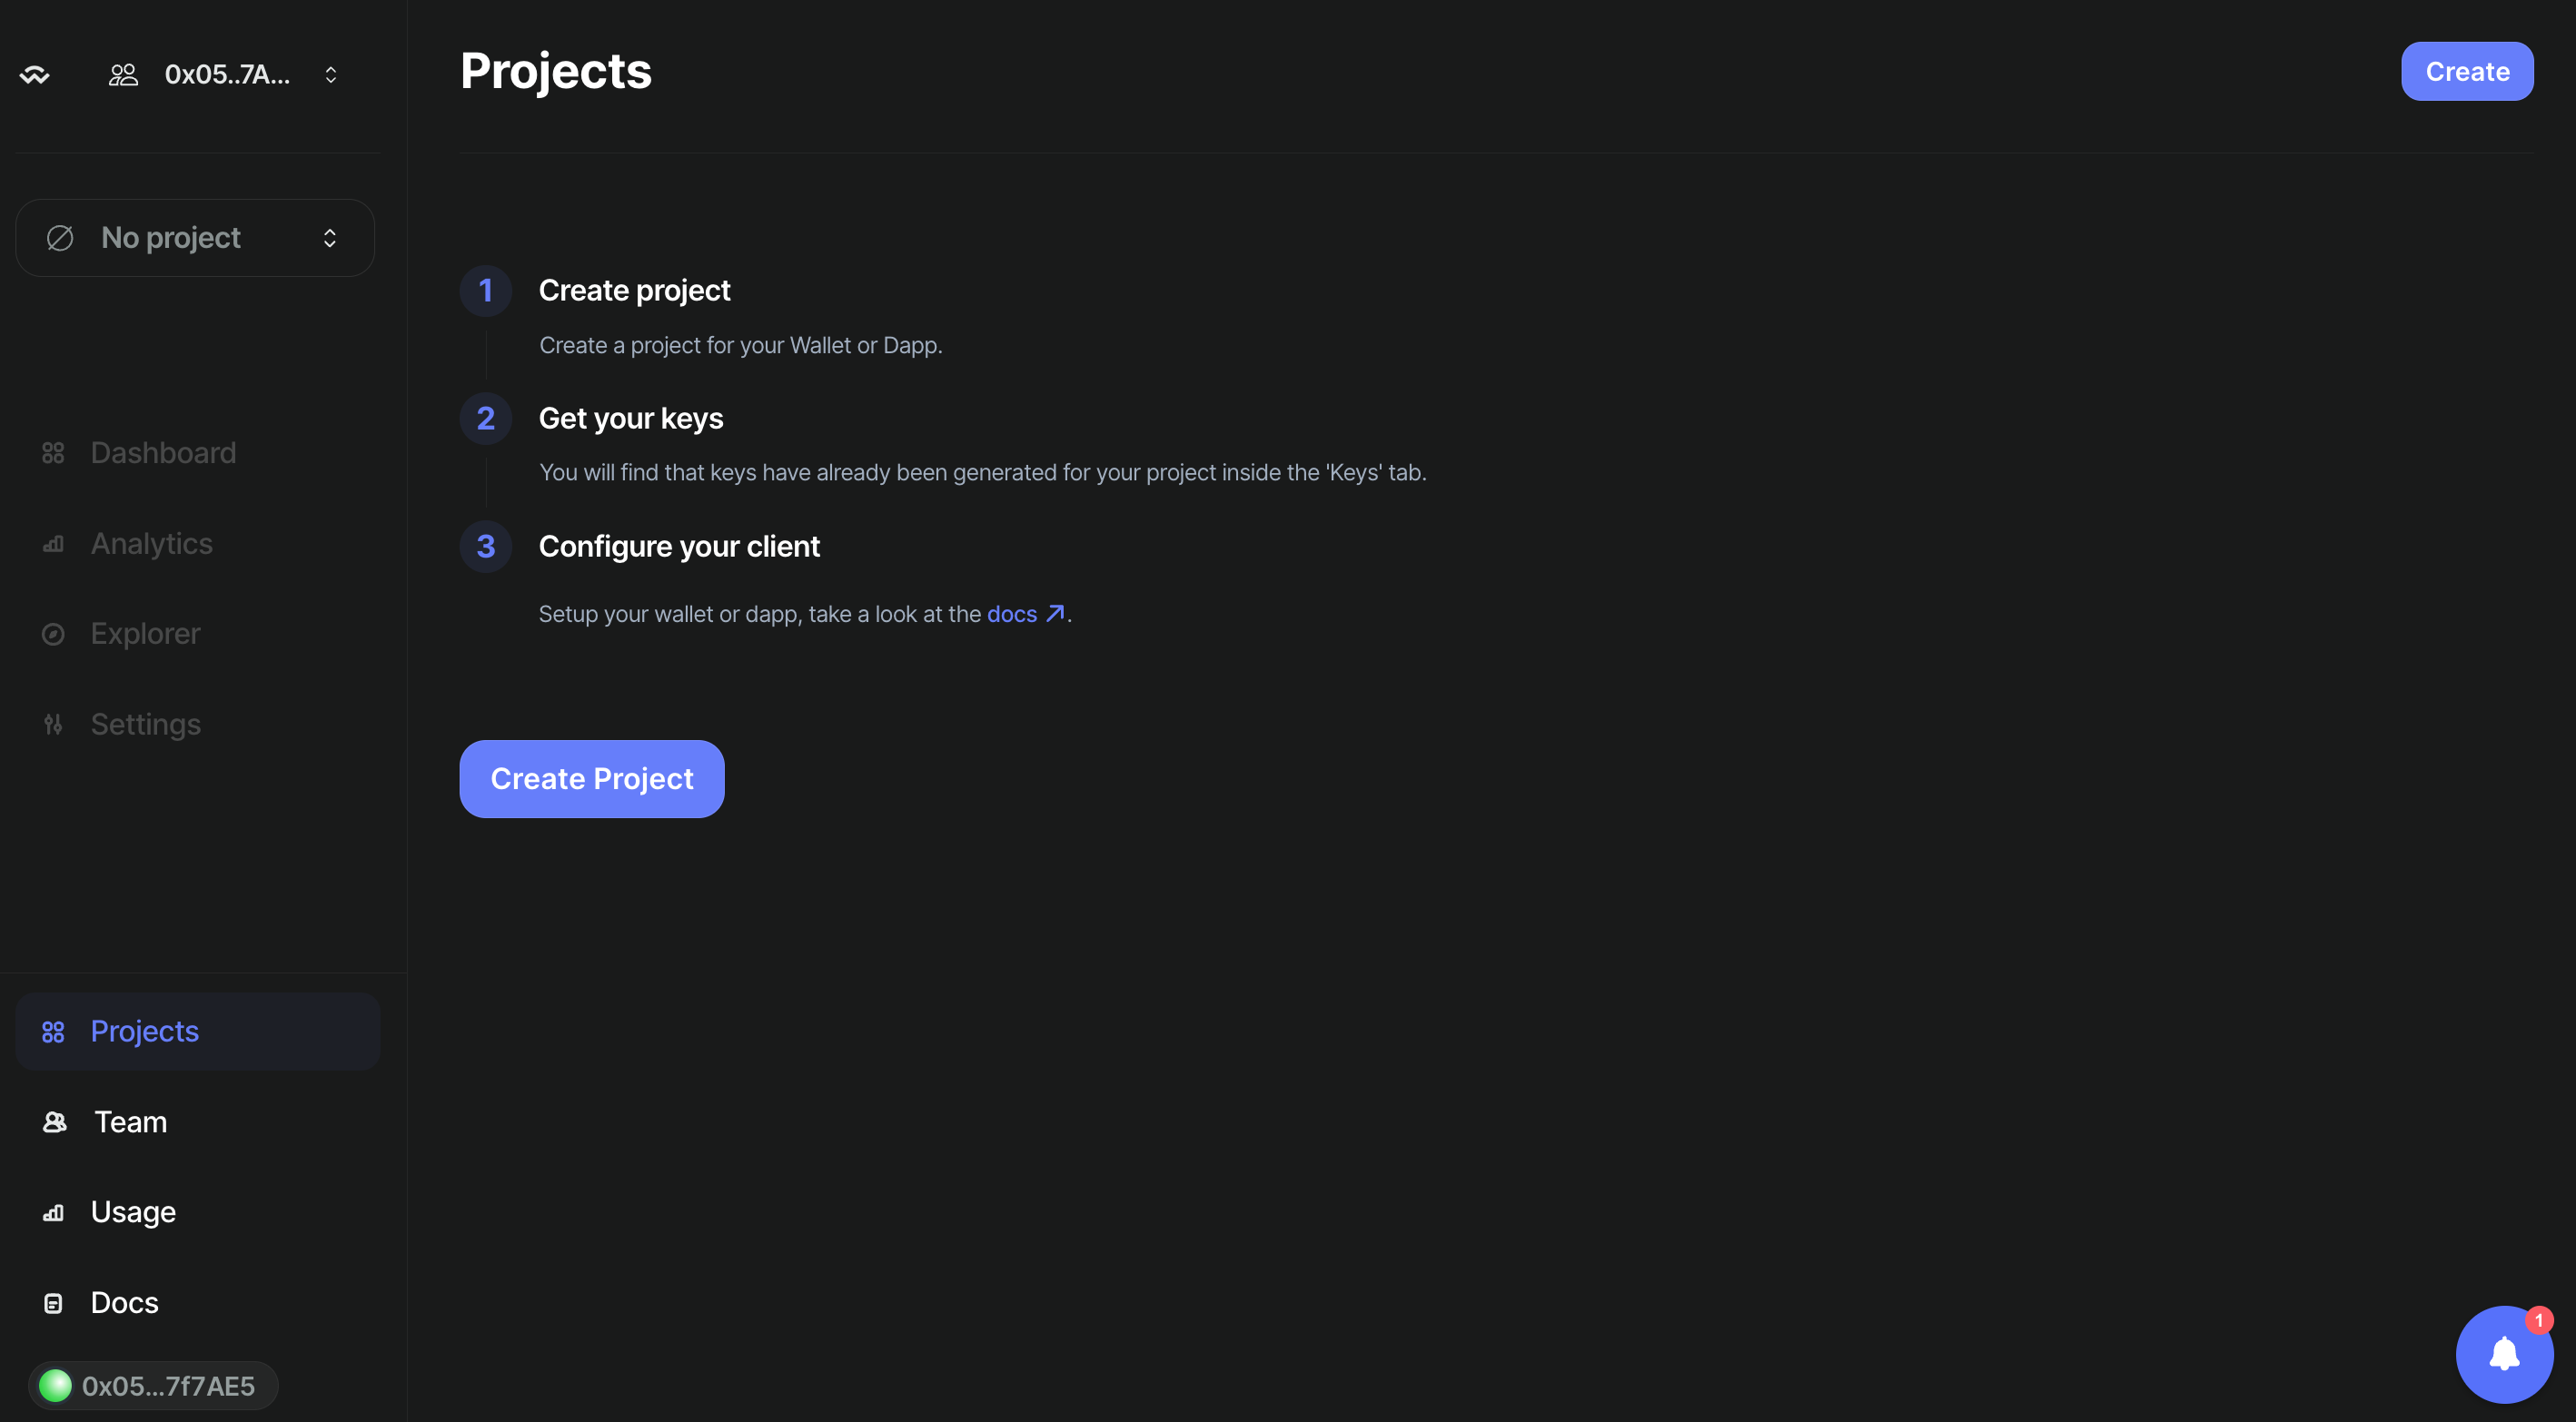
- Once logged in, navigate to the dashboard or the area where you can manage projects.
- Look for a button or link labeled "Create Project" and click on it.
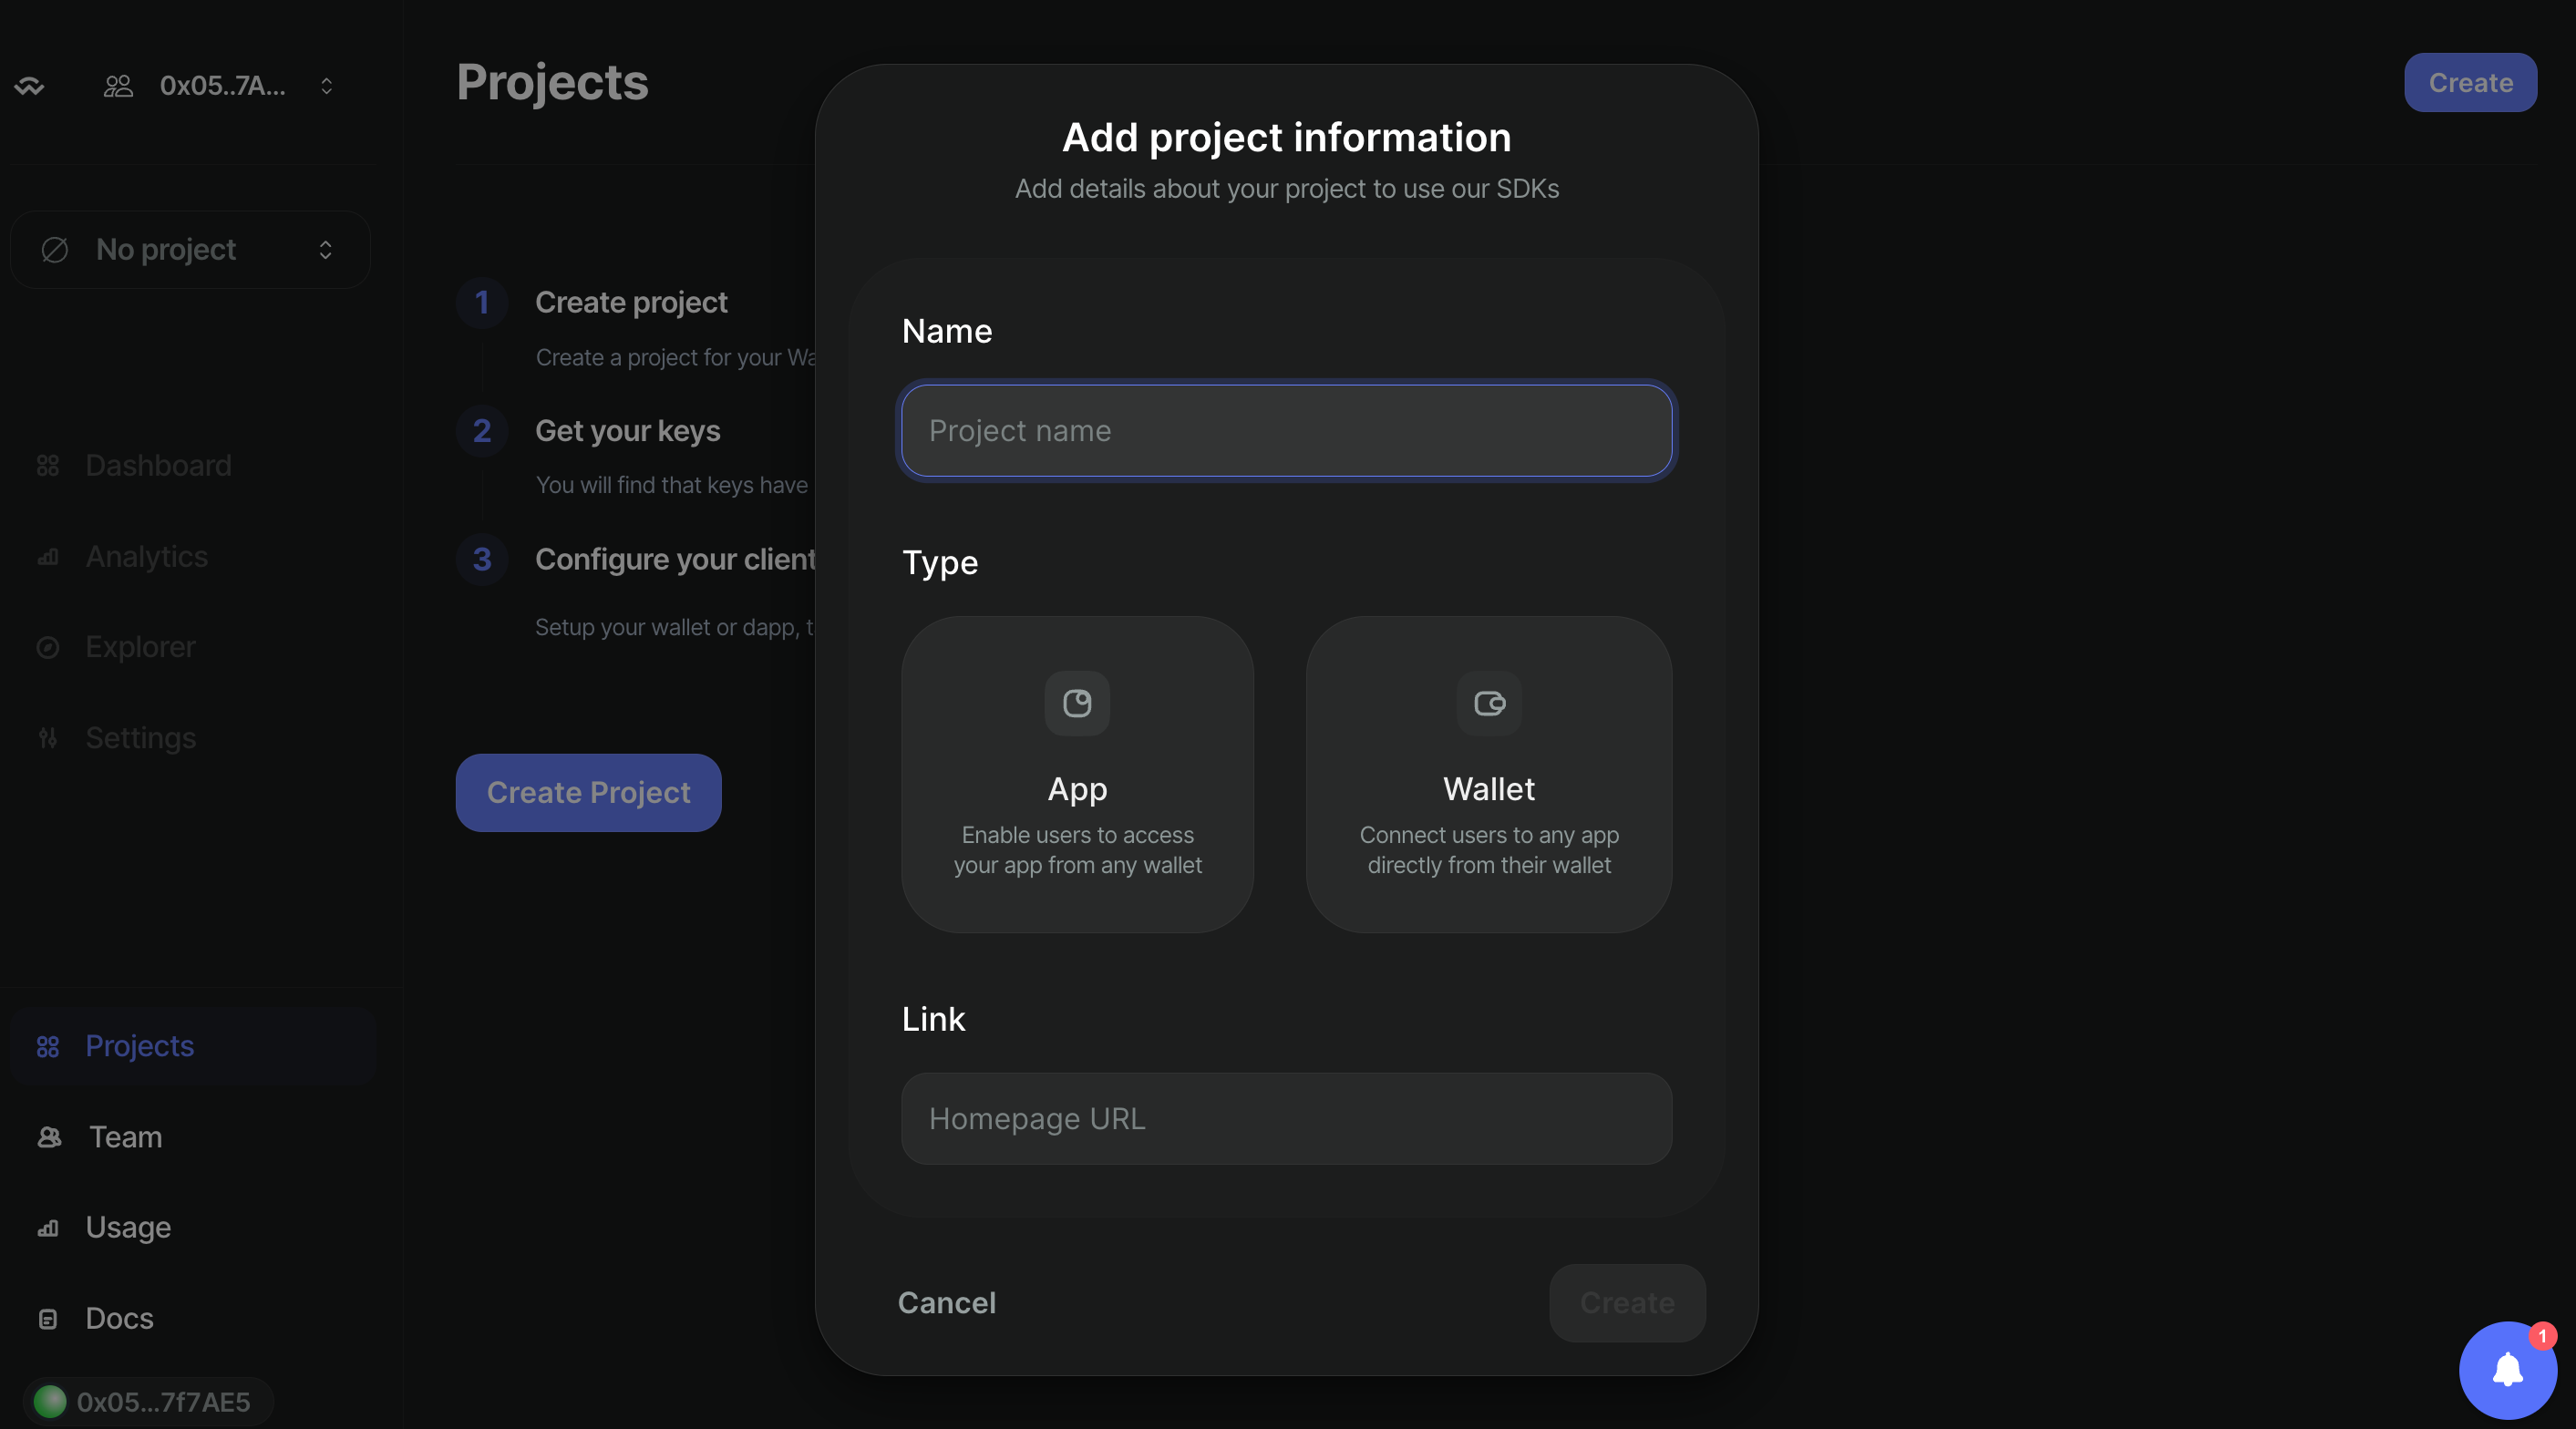
- Enter the required details about your project:
- Project Name: Assign a name to your project.
- Type: Choose a type of your project.
- Website URL: Enter the URL of your project's website if available.
Step 4: Configure Project Settings
- After creating the project, configure settings that are relevant to how you will use WalletConnect.
- Settings may include callback URLs, permissions, and other integration details specific to your project's needs.
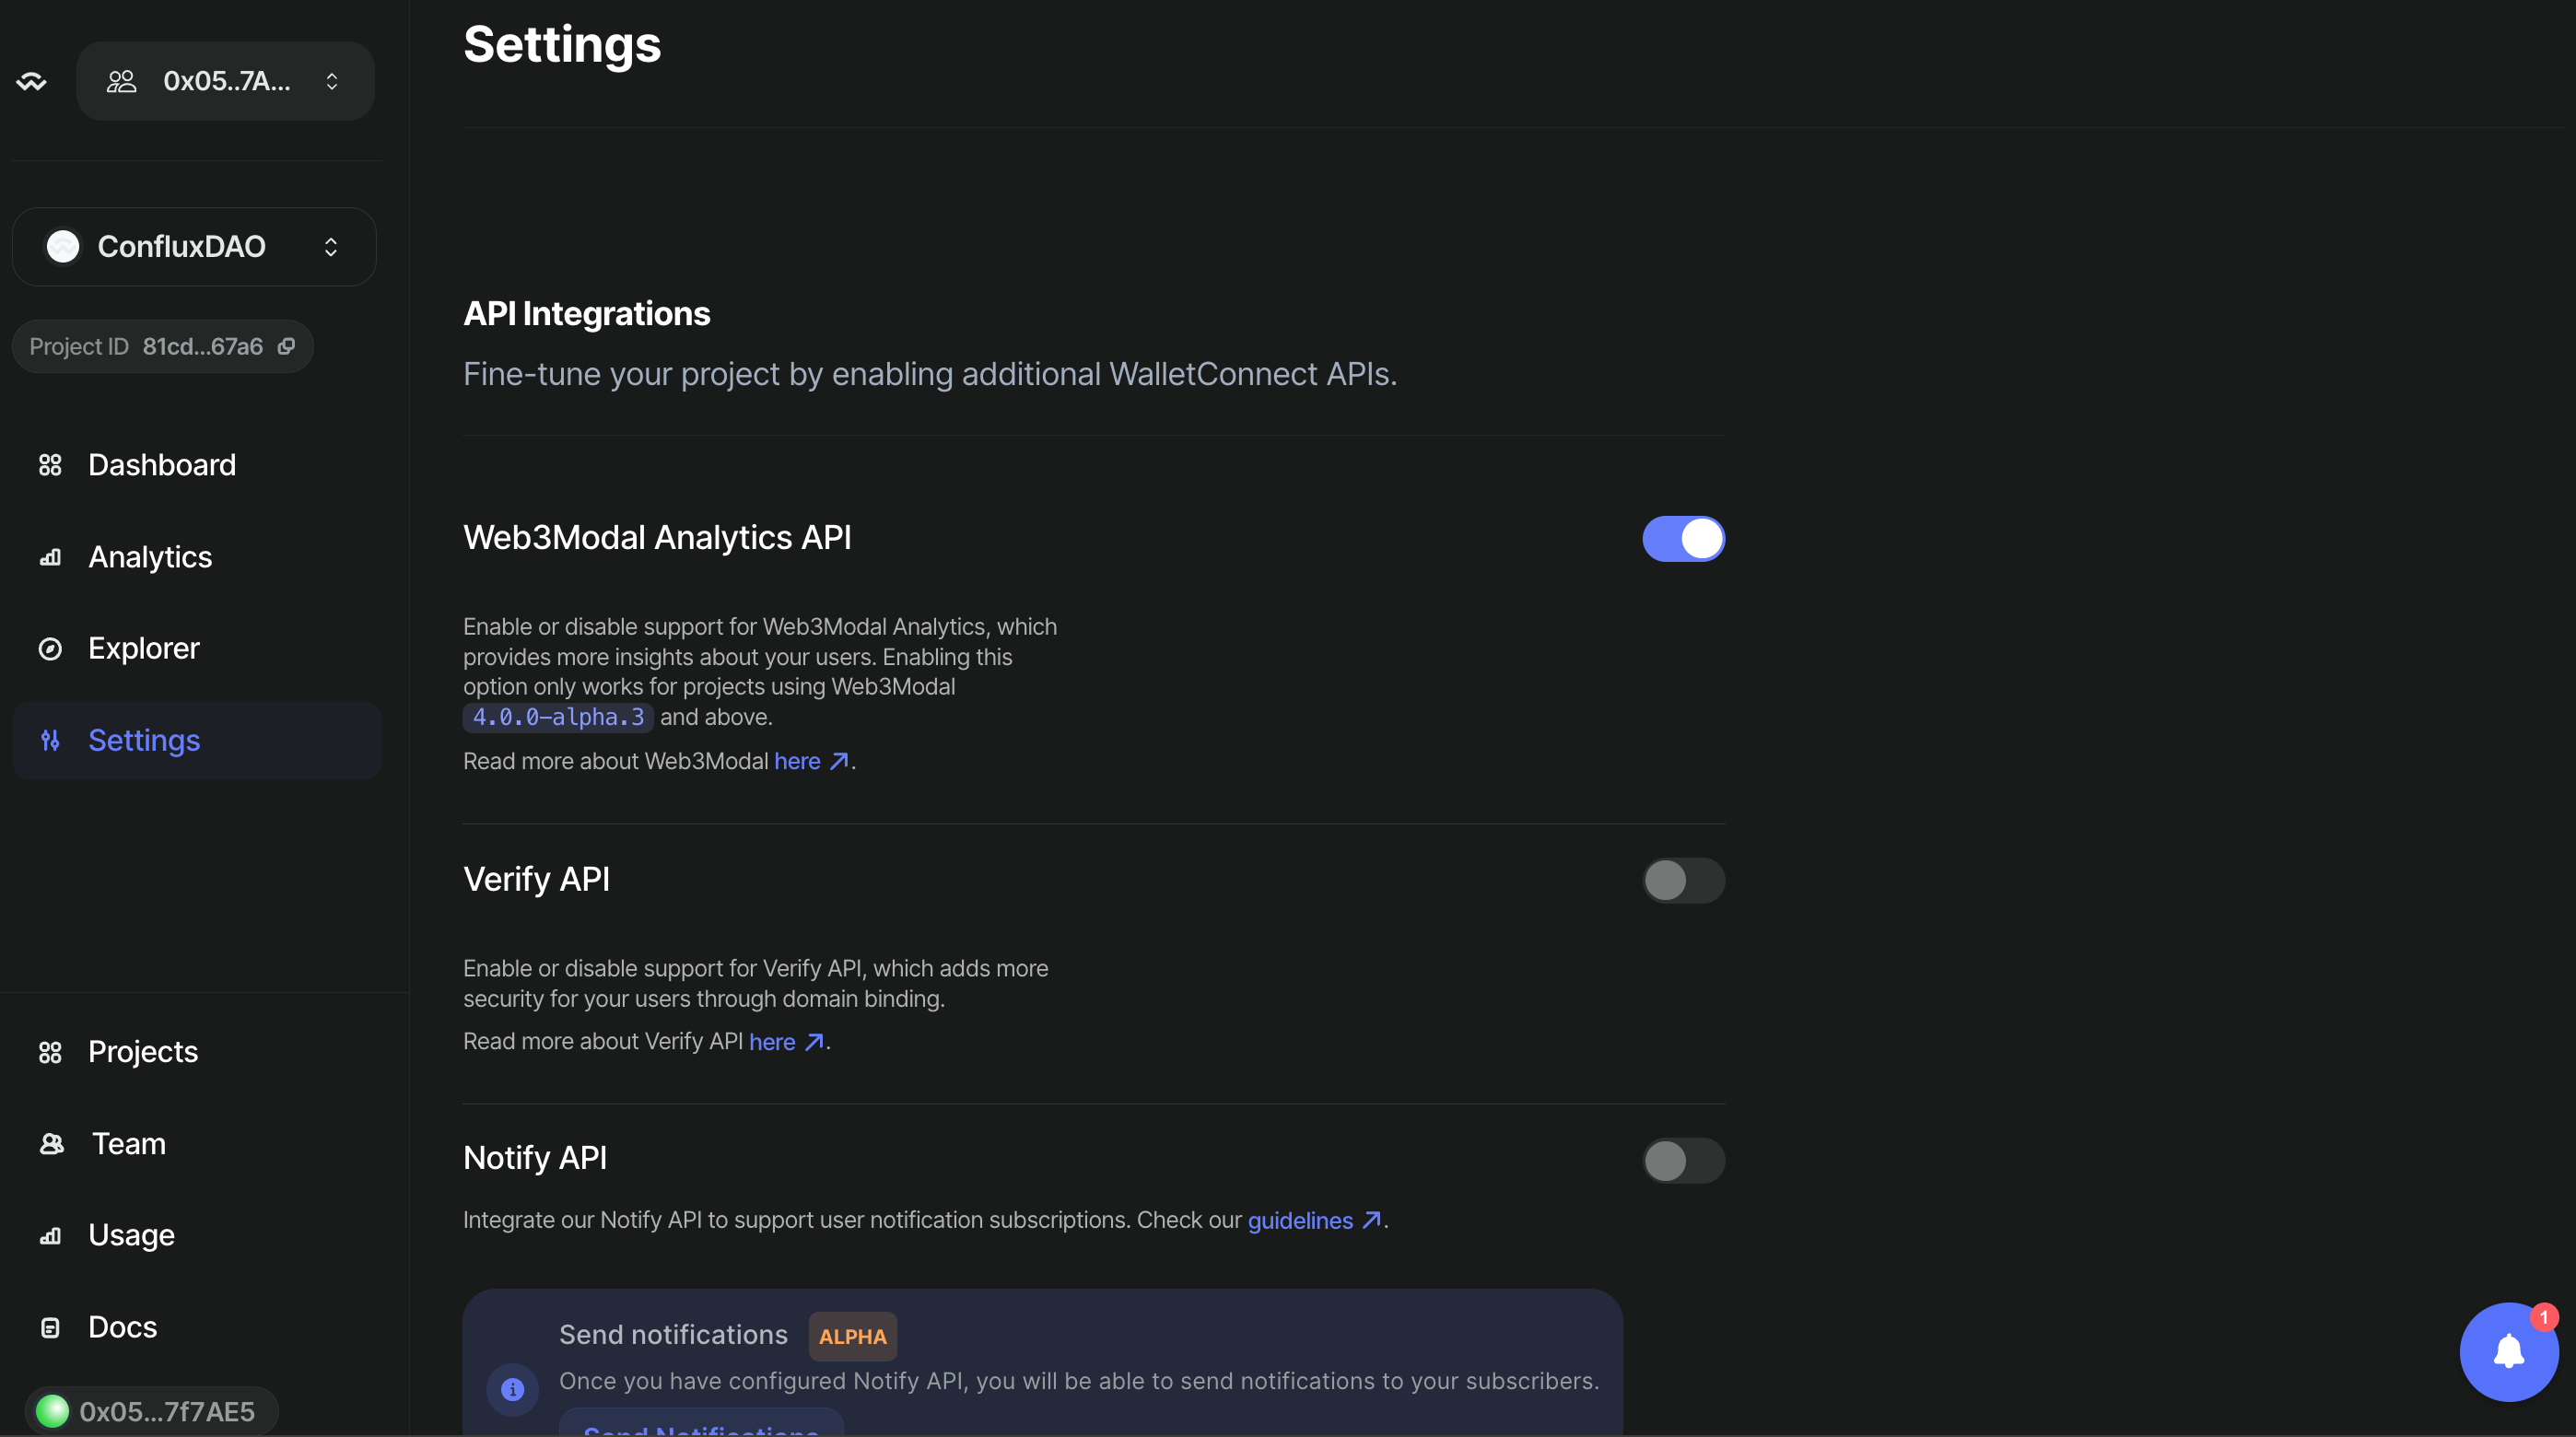
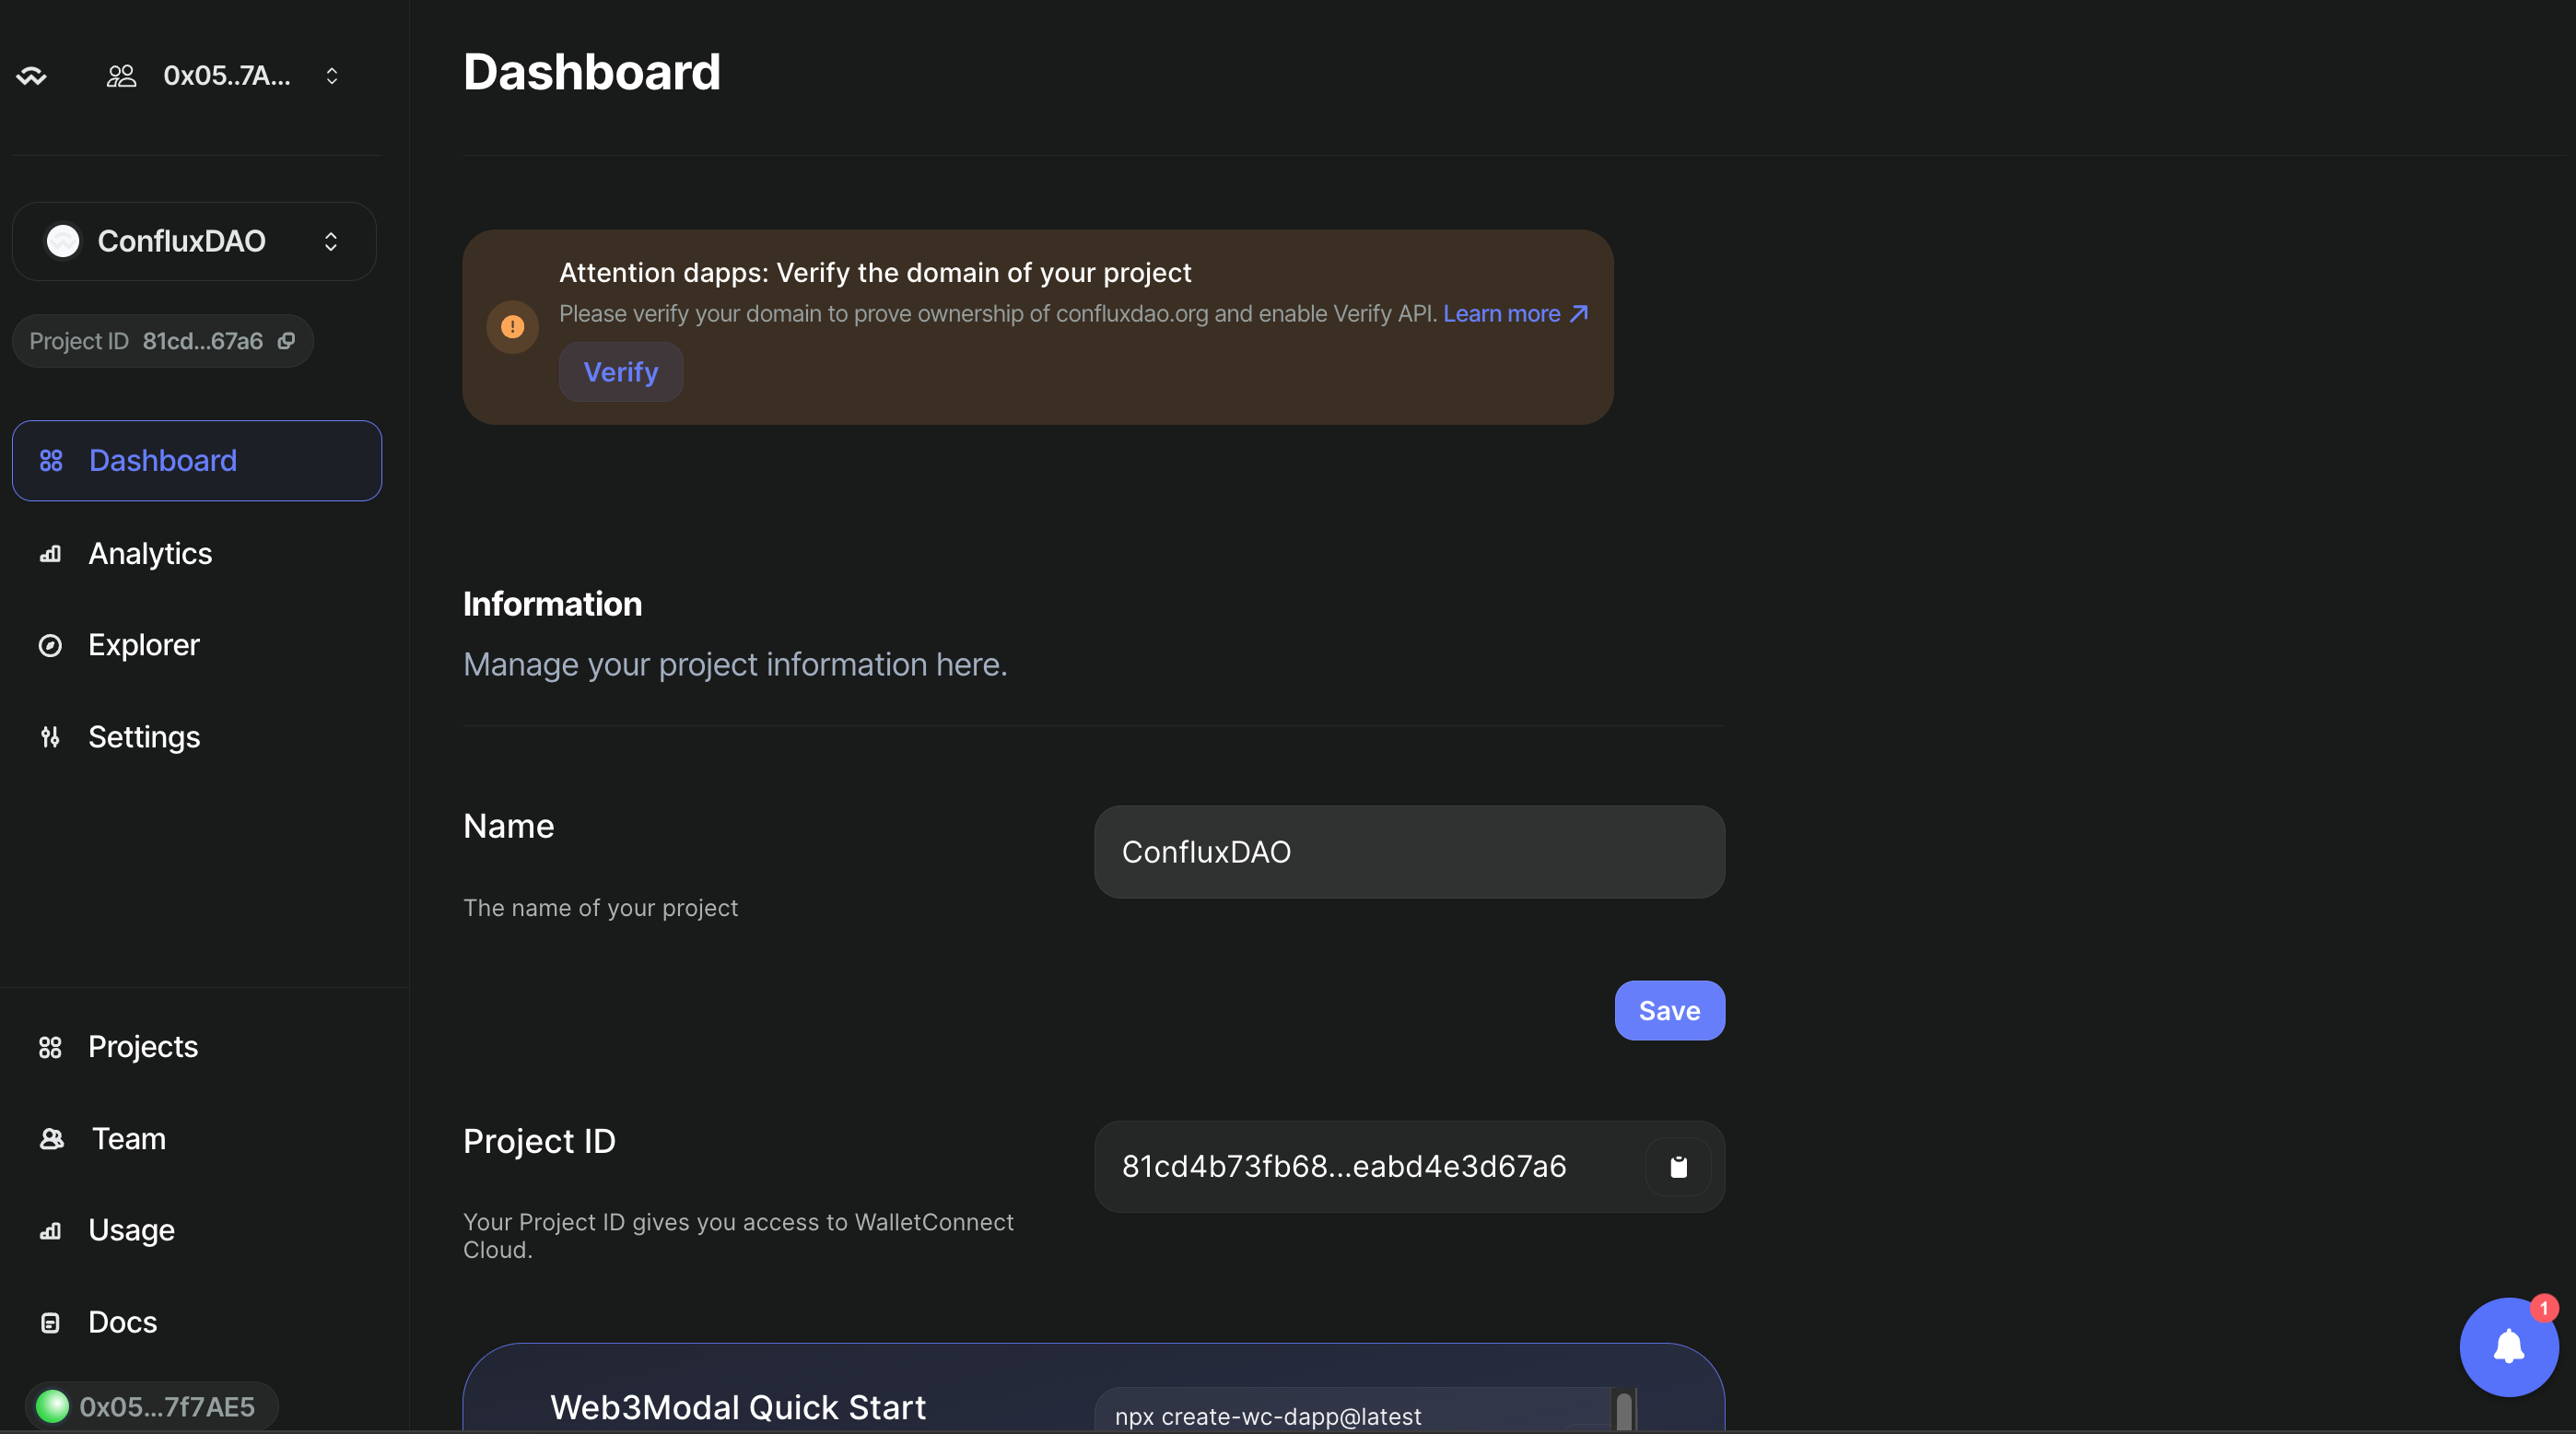
Step 5: Obtain Your ProjectId
-
After your project is set up and configured, navigate to a section in the dashboard labeled "Dashboard".
-
Your
ProjectIdwill be displayed here. It is a unique identifier necessary for your application to interact with WalletConnect services.
Step 6: Use ProjectId in Your Dapp
- If you are building a Dapp on Conflux using the React.js framework, please refer to the following guide: React.js WalletConnect Integration
- If you are using the Vue.js framework to develop a Dapp on Conflux, please consult this tutorial: Vue.js WalletConnect Integration
- For those developing a Dapp on Conflux with the Next.js framework, please follow this link: Next.js WalletConnect Integration
This guide helps developers set up a WalletConnect project and get a ProjectId, which is essential for integrating WalletConnect into dapps. Make sure your settings and configurations align with your application's needs to ensure a smooth user experience.